First time using a public EV charger in New Zealand? Here's exactly how to charge at a DC fast charger and an AC charger, step by step, including connectors, costs, and etiquette.
If you're used to charging at home, your first visit to a public charger can feel slightly daunting, different connectors, different apps, different etiquette. The good news is that public charging in New Zealand is far more straightforward than it looks once you understand the basics.
This guide walks through exactly how to charge at both a DC fast charger and a public AC charger, step by step, so you know exactly what to expect before you arrive.
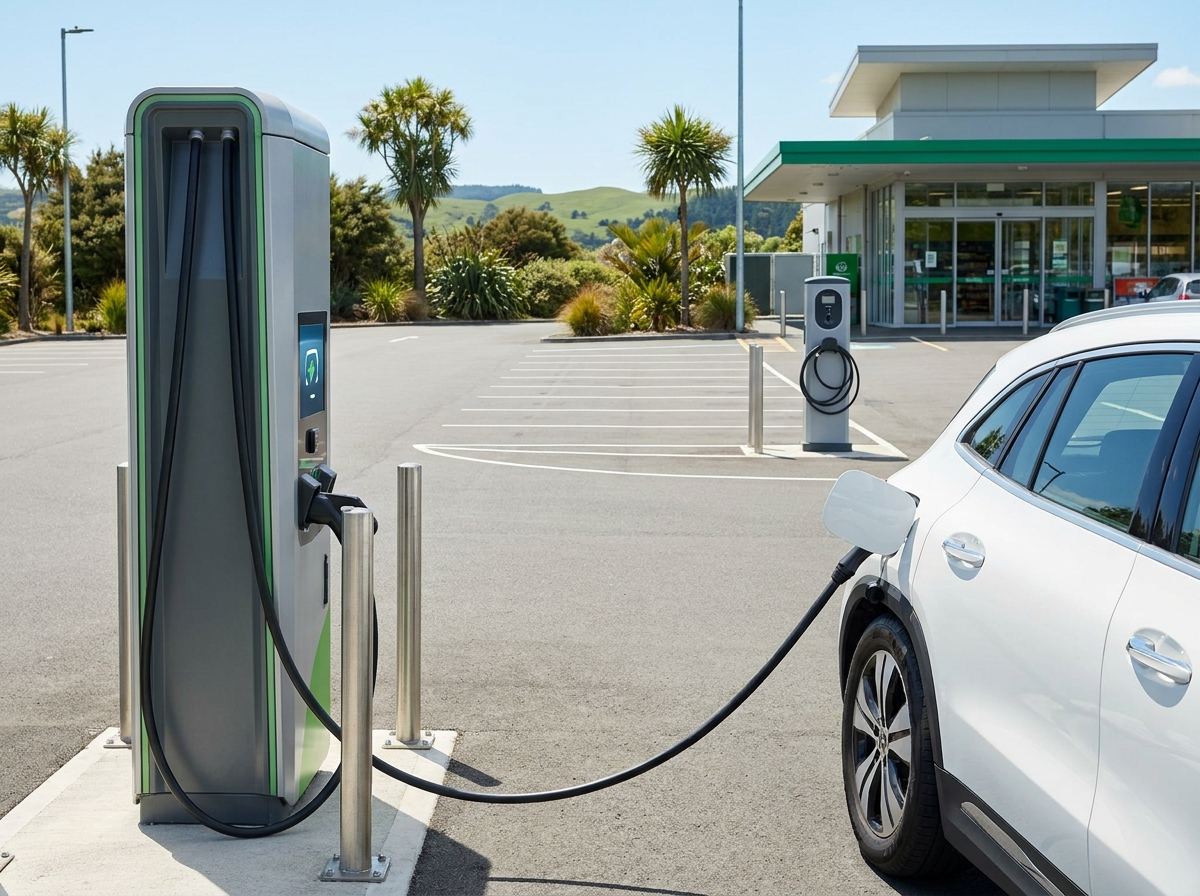
DC vs AC charging — what's actually different?
| Every EV battery stores electricity as direct current (DC). The electricity grid, however, delivers alternating current (AC). Somewhere in the process, that AC needs to be converted to DC, and where that conversion happens is the key difference between the two charging types. |
 |
AC charging uses your EV's onboard charger, a converter built into the car itself, to turn AC power from the grid into DC power for the battery. Because the conversion happens inside the car, and the car's onboard charger has a limited capacity, AC charging is slower. This is the same method used for home charging.
DC charging does the AC-to-DC conversion inside the charging station itself, rather than the car. This means DC power can be fed directly into the battery without being limited by the car's onboard charger, which is why DC fast chargers are dramatically quicker, the kind of charging speed you'd actually want on a road trip.
Step-by-step: charging at a public DC fast charger
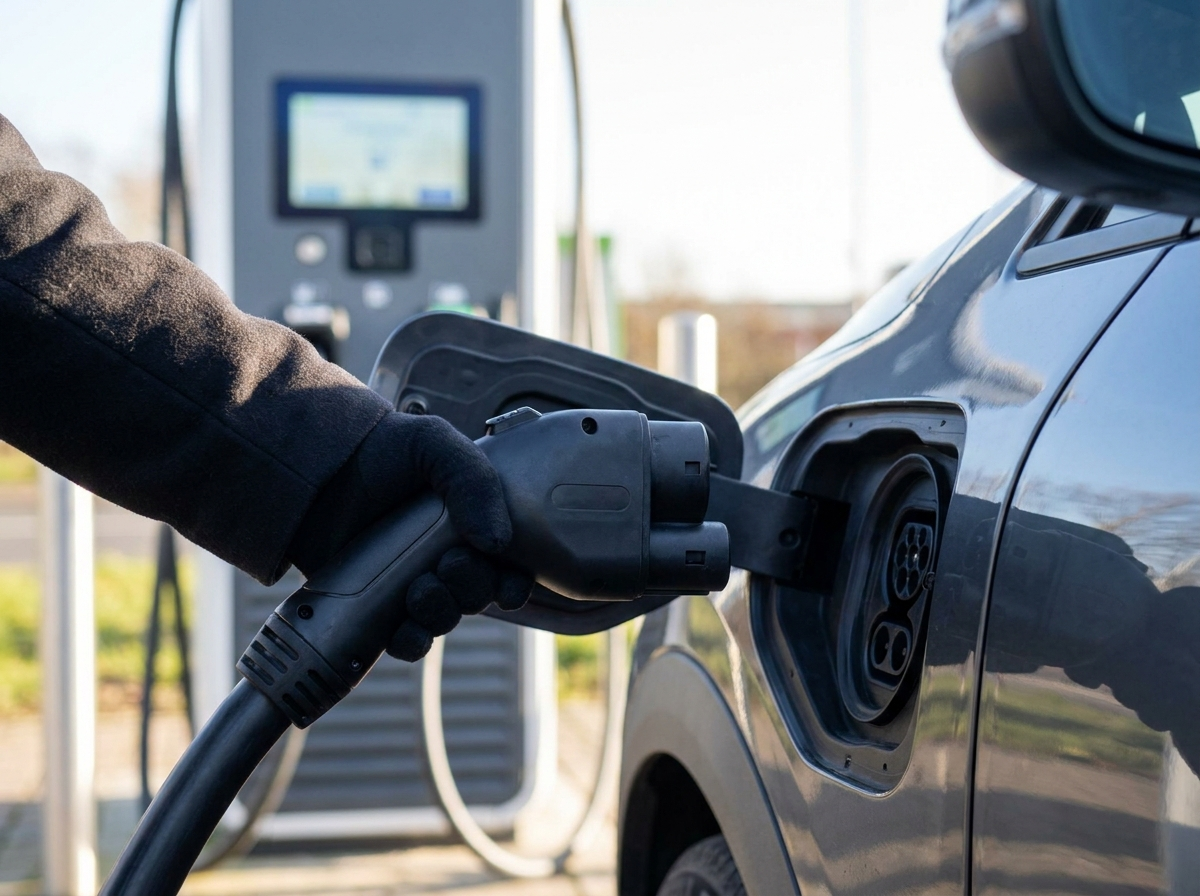
| DC fast chargers are what you'll use for road trips and any time you need a substantial top-up quickly. They're found along state highways roughly every 75km, and increasingly at convenient stops with food, coffee, or toilets nearby. |
 |
Step 1 — Find a compatible charger Use an app like PlugShare, EVRoam, Powertrip or your vehicle's built-in navigation to locate a nearby DC charger. Check that it's currently working and not already occupied, these apps typically show live status.
Step 2 — Check the connector type Public DC chargers in New Zealand are tethered, meaning the cable is permanently attached to the charging station, you don't need to bring your own. Most stations provide both CHAdeMO and CCS Type 2 connectors to cover the range of vehicles on the road. Check which one your vehicle uses before you arrive (this is in your owner's manual, or visible on your charging port itself).
Step 3 — Park and connect Park so the vehicle's charging inlet is within easy reach of the charger's cable. Select the correct connector for your vehicle from the station and plug it into your car's charging inlet.
Step 4 — Activate the charger Most networks require you to either scan a QR code with their app, tap an RFID fob against the reader, or use a registered card. If you haven't already, create an account with the network beforehand (ChargeNet and others) so you're not setting one up for the first time standing at the charger. Charging will begin once communication is established between the vehicle and the charging station.
Step 5 — Monitor your session Use the network's app to check progress remotely rather than standing beside the car the whole time. As a rough guide, a 50kW charger adds around 50km of range in under 15 minutes, while a 150kW charger can add 100km in as little as 13–16 minutes, though your actual speed depends heavily on your vehicle's own charging capability, not just the charger's rating.
Step 6 — Know when to stop Charging speed tapers off significantly once your battery passes around 80%, the closer to full, the slower the rate of charge. If you're paying by the minute, charging past 80% can become poor value for the extra range gained. Many networks let you set an 80% charge limit directly through their app.
Step 7 — Disconnect and move on Once charging stops, unplug the cable, return it neatly to the holster on the charging station, and check your app for the final cost. If others are waiting, don't linger in the parking spot longer than necessary, it's good etiquette to free up the charger once you're done.
Step-by-step: charging at a public AC charger
| AC chargers are generally what you'll find at supermarkets, shopping malls, gyms, libraries, and council car parks, places where you'll naturally be parked for thirty minutes to a couple of hours anyway. |
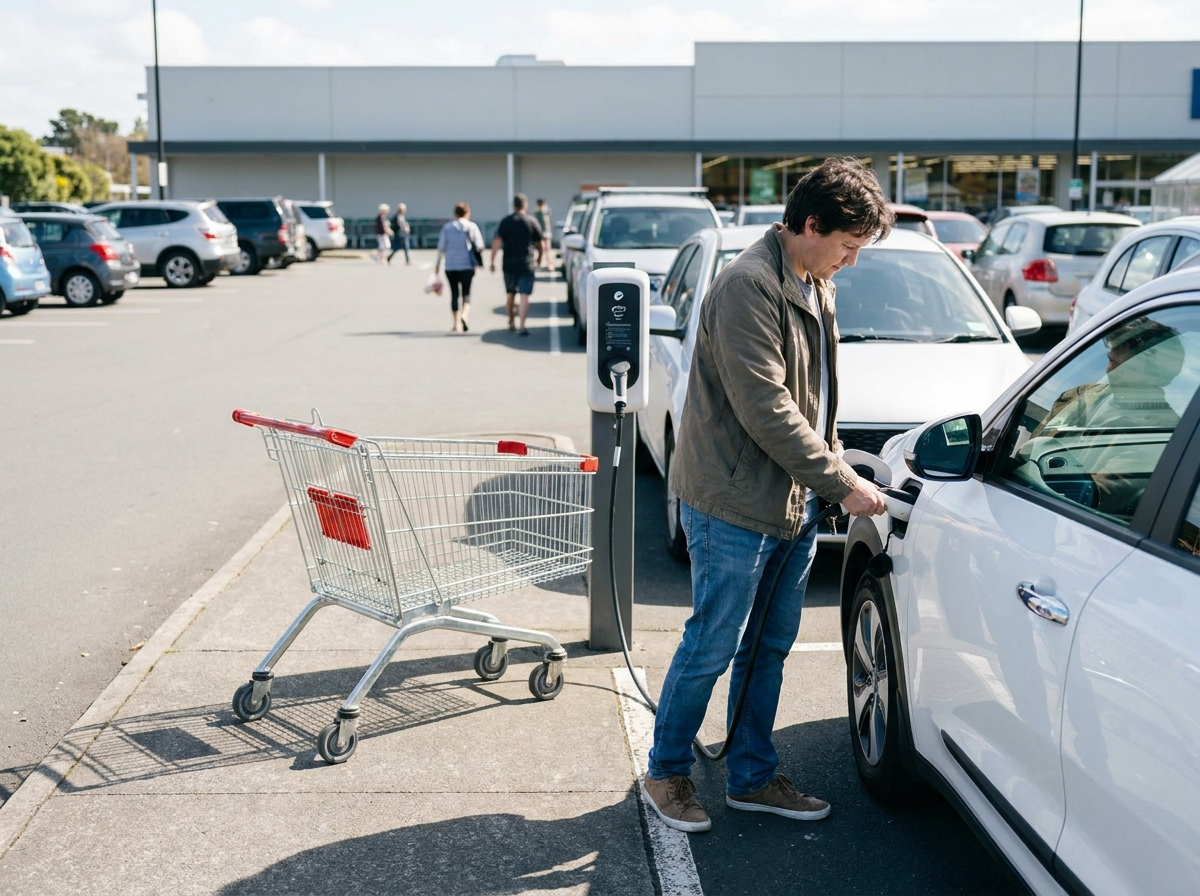 |
Step 1 — Bring your own cable Unlike DC chargers, public AC chargers typically don't come with a tethered cable, you'll need to supply your own Type 1 or Type 2 cable, the same type you likely already use at home. Keep one in your boot if you regularly use public AC charging.
Step 2 — Find and check the charger Use the same apps (PlugShare, EVRoam, Google, PowerTrip or Apple Maps) to locate AC chargers nearby. These are often free or low-cost, particularly at retail locations where the charger is provided as a customer amenity.
Step 3 — Park and connect Park within reach of the charging point, plug your own cable into the charger's outlet socket, then connect the other end to your vehicle's charging inlet.
Step 4 — Activate if required Some AC chargers start automatically once connected; others require activation through an app, RFID tag, or simply by tapping a contactless card. Follow the instructions on the unit itself.
Step 5 — Let it run while you go about your day This is the real advantage of AC charging, you're not standing around waiting. Do your shopping, go to the gym, or run your errands, and come back to a meaningfully topped-up battery. As a rough guide, AC chargers typically deliver 7–22kW, adding a reasonable amount of range over the one to two hours most people are parked for.
Step 6 — Disconnect when you're done Unplug your cable from both ends, coil it back into your boot, and check the app or charger display for any cost incurred.
How much does it actually cost?
Public charging pricing varies by network, charger type, and time of day, but as a rough guide for 2026:
- AC destination chargers: Often free or low-cost at retail and hospitality venues
- DC fast chargers (25–75kW): Typically priced per kWh or per minute, often in the range of $0.25–$0.40 per minute or roughly $0.70–$0.85 per kWh depending on the network
- Network membership with providers like ChargeNet can reduce per-session costs for regular users
|
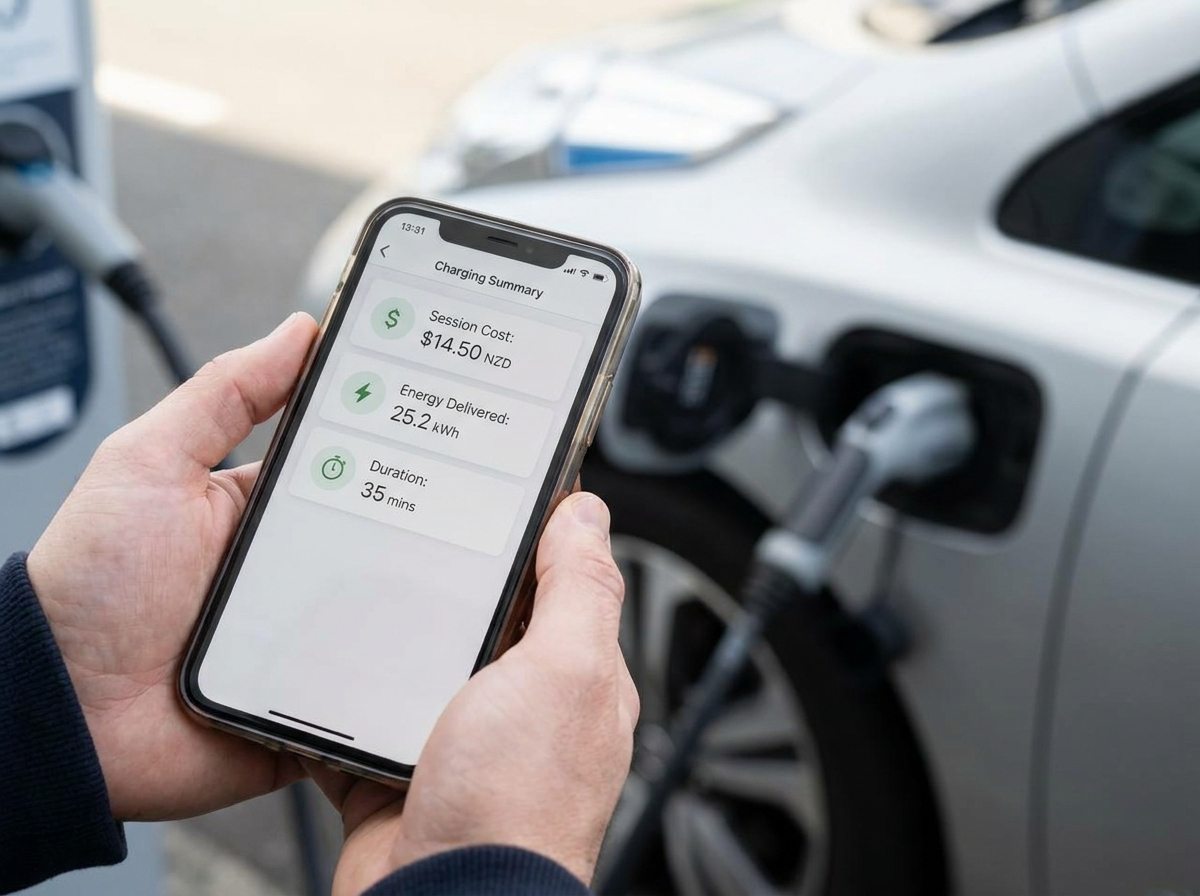 |
While public charging costs noticeably more per kWh than charging at home overnight, it remains significantly cheaper per kilometre than petrol or diesel for the vast majority of journeys, it's simply a different cost bracket to home charging, not an expensive one in absolute terms.
A few practical tips that make a real difference
Fast charge occasionally, not constantly. Public DC fast charging is brilliant for road trips, but relying on it as your everyday charging method puts more stress on the battery over time than overnight AC charging at home. Keep fast charging for when you actually need it.
Charge to 80% when you're in a hurry. The last 20% of any battery takes disproportionately longer to fill, so unless you genuinely need the extra range, stopping at 80% gets you back on the road faster and avoids paying for slow, expensive charging time.
Check your charging speed isn't limited by your own vehicle. If you have an older or lower-range EV, your charging speed is limited by your car's internal charging capacity, plugging into a 350kW ultra-rapid charger won't necessarily charge you any faster than a 100kW one if your vehicle can't accept that much power.
Mind the cable. Never run a charging cable across a footpath where pedestrians could trip on it, most stations are positioned to avoid this, but it's worth being conscious of regardless.
Have a backup plan. If a charger is occupied or out of service, most network apps let you check live status and locate the nearest alternative before you arrive disappointed. It's also worth keeping a reasonable buffer of range in reserve on longer trips, just in case your first-choice charger isn't available.
Know your connector before you need it. New Zealand New EVs typically use Type 2 for AC and CCS2 for DC. Many Japanese imports, including the ever-popular Nissan Leaf, use CHAdeMO for DC fast charging and Type 1 or Type 2 for AC, depending on the model and import market. Knowing which your vehicle uses avoids any confusion when you arrive at a charger.
The bottom line
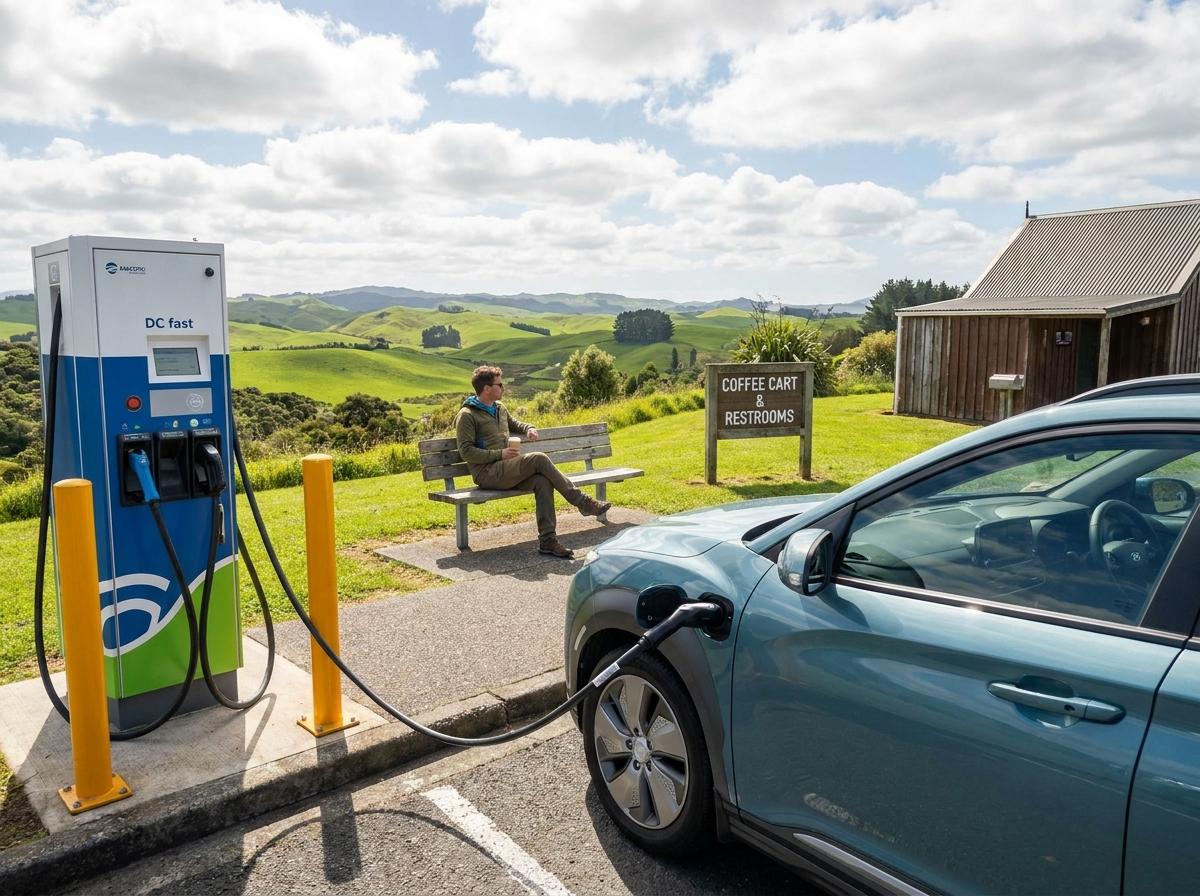
| Public charging in New Zealand has matured into a genuinely usable, well-signposted network, and once you've done it once or twice, the process becomes second nature. DC fast chargers get you back on the road quickly during a trip; AC chargers quietly top you up while you're doing something else anyway. Between the two, most range anxiety disappears fast. |
 |
Want to know more about getting the best range from your EV, or how solar can work alongside your home charging setup? Check out our other guides, or get in touch with our GVI team if you have questions about charging your specific vehicle.
Disclaimer
The content in this post is based on our own research, experience, and opinion and is intended for general informational purposes only. It does not constitute professional financial, technical, or legal advice. While we strive for accuracy, figures, charging speeds, network pricing, and infrastructure details referenced are subject to change and may vary by provider, location, and vehicle. We encourage readers to confirm current details with the relevant charging network and to conduct their own research before relying on this information for trip planning.
Last updated: June 2026